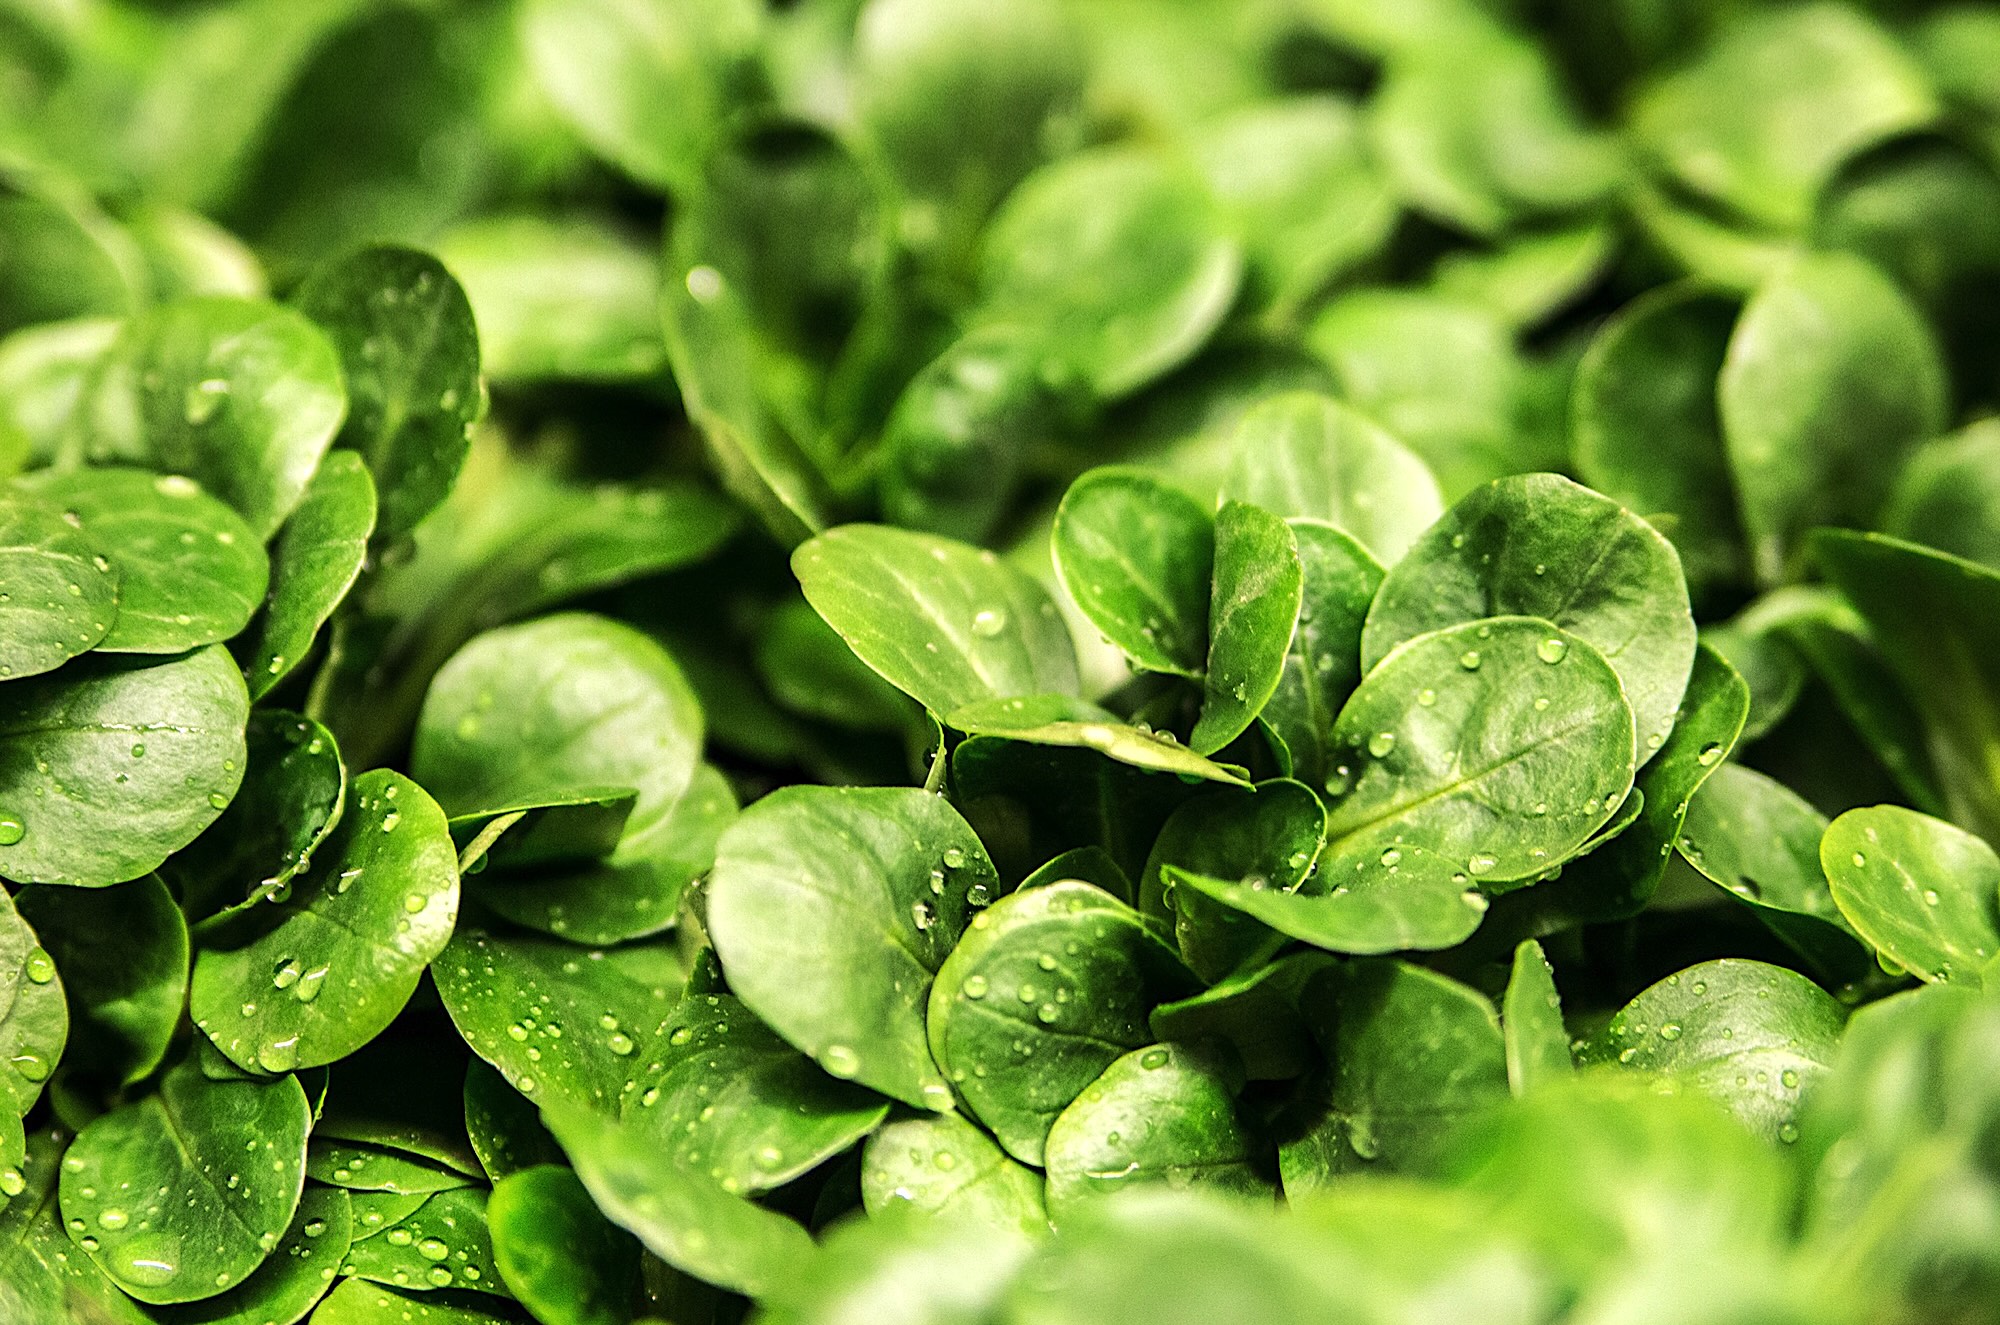
Savoring fresh, organic salads and herbs all year round is not only a healthy choice but an eco-friendly one too. Why not take matters into your own hands and create a bountiful salad garden right on your windowsill? With a few supplies and some enthusiasm, you can enjoy the delight of homegrown greens in every season. Here’s how to craft your own windowsill salad garden.
The Essentials
Before you embark on your windowsill salad adventure, gather the following items:
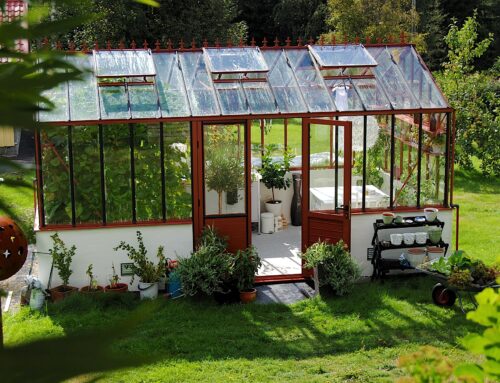
- Sunny Windowsill: Opt for a south-facing or west-facing window that receives at least six hours of sunlight daily. If your window doesn’t get enough sunshine, LED grow lights can be a valuable supplement. If you’re renovating, you may want to refit a window with a special greenhouse design.
- Containers: Utilize pots or containers that fit your windowsill, making sure they have drainage holes at the base. You can also repurpose items like plastic bottles, cans, or jars; just remember to add some drainage holes. Alternatively, employ a tray or shallow box to create a mini salad bed.
- Compost: Quality potting soil or compost is essential to fill your containers. You can either purchase it from a garden center or create your own by repurposing kitchen scraps and yard waste.
- Seeds: Select your preferred salad vegetables, like lettuce, spinach, radishes, carrots, onions, beetroot, garlic, or herbs. Sprouts from seeds or beans, such as alfalfa, mung beans, or sunflower, are fantastic options too. Acquire seeds from a garden center, online, or use those stored in your kitchen pantry.
- Water: Your plants will require regular watering to keep them moist but not soggy. Whether it’s tap water, rainwater, or filtered water, ensure your plants stay well-hydrated.
Planting Your Windowsill Salad Garden
Once you’ve gathered all the necessary materials, initiate your windowsill salad garden with these steps:
- Fill Containers with Compost: Leave about an inch of space from the top.
- Seed Sowing: Sprinkle seeds evenly across the compost, keeping them roughly an inch apart. You can mix different seeds in the same container for variety, or plant them separately for easy harvesting.
- Compost Cover: Gently cover the seeds with a thin layer of compost, around a quarter of an inch thick, and lightly press them down.
- Initial Watering: Give your seeds a gentle initial watering and place the containers on your sunny windowsill.
- Maintain Moisture: Keep the compost consistently moist but not overly wet. Use a spray bottle or watering can for this task.
- Watch the Magic: Within a week or two, you’ll observe your seeds sprouting and maturing into baby greens.
Harvesting Your Homegrown Bounty
You can start harvesting your windowsill salad greens when they reach about three inches in height, typically around three to four weeks after planting. To harvest, you can:
- Snip them at the base of the stem using scissors or a knife, leaving about an inch of stem in the container. This allows for regrowth and multiple harvests.
- Pull them out by the roots and plant new seeds in their place to maintain a steady supply of fresh greens.
Store your harvested greens in the refrigerator for up to a week. You can also wash and dry them, placing them in a plastic bag or container with a paper towel to absorb excess moisture.
Diversify Your Culinary Creations
Enjoy your windowsill salad greens in a multitude of ways:
- Craft simple and refreshing salads by tossing them with your preferred dressing and toppings.
- Add them to sandwiches, wraps, burgers, or pizzas for an extra layer of crunch and flavor.
- Blend them with fruits, nuts, seeds, and milk or yogurt to create nutritious smoothies.
- Enhance your breakfast with greens, incorporating them into dishes with eggs, cheese, bacon, or ham.
- Experiment with Asian-inspired cuisine, stir-frying greens with garlic, ginger, soy sauce, and sesame oil.
The possibilities are endless with your windowsill salad garden. Feel free to create your own delightful recipes by experimenting with various greens and ingredients.
Perks of a Windowsill Salad Garden
Cultivating a windowsill salad garden brings numerous benefits:
- Savings: Growing your own organic greens at home is cost-effective and reduces waste compared to store-bought options.
- Wellness: Uplift your health and nutrition by incorporating more vitamin-rich, mineral-packed, antioxidant-laden, and fiber-infused vegetables into your diet.
- Mood Enhancement: Enjoy the mood-boosting presence of greenery in your living space. It not only cleans the air but also diminishes stress.
- Skill Development: Gardening indoors provides an enjoyable opportunity to acquire new skills and indulge in culinary creativity.
With a sunny windowsill, suitable containers, compost, seeds, water, and a bit of care and attention, growing a windowsill salad garden becomes an accessible, rewarding hobby, regardless of season or experience. Witness the fruitful results of your efforts and savor your homegrown bounty. Bon appétit!
Looking for a home with gardens? Contact us today for more information.


